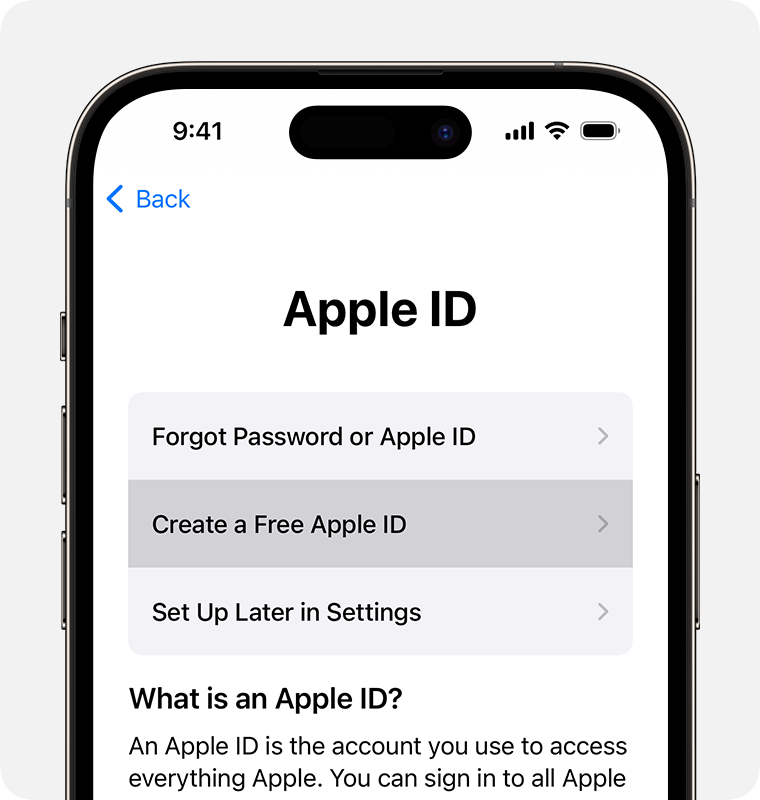
There are a few different options to create an Apple ID. Here are the step-by-step instructions for each method:
1. **Creating an Apple ID on an iPhone, iPad, or iPod touch**:
Go to “Settings” on your device.
Tap on your name at the top of the Settings menu.
– Select “Sign in to your iPhone” (or “Sign in to your iPad/iPod” depending on your device).
Tap on “Don’t have an Apple ID or forgot it?”
– Select “Create Apple ID” and follow the on-screen instructions to set up your new Apple ID.
2. **Creating an Apple ID on a Mac**:
Open the “App Store” on your Mac.
Go to the “Account” menu and select “Sign In.”
Click on “Create Apple ID.””
– Follow the on-screen instructions to complete the setup process.
3. **Creating an Apple ID on a PC**:
Open iTunes on your PC.
Go to the “Account” menu and select “Sign In.”
Click on “Create New Apple ID.””
Follow the on-screen instructions to set up your new Apple ID.
4. **Creating an Apple ID on the web**:
Go to the Apple ID account website (https://appleid.apple.com/).
Click on “Create Your Apple ID.””
Enter your details, including your name, email address, password, and security questions.
Follow the on-screen instructions to verify your email address and set up your new Apple ID.
5. **Creating an Apple ID for a child**:
Use the Family Sharing feature on your iOS device or Mac to create an Apple ID for a child under 13 years old.
Open “Settings” on your device, go to your name, and select “Set Up Family Sharing.”””
– Follow the on-screen instructions to add a child account and create their Apple ID.
These are the general steps for creating an Apple ID using different methods. The process may vary slightly depending on the device or operating system version you are using.


